

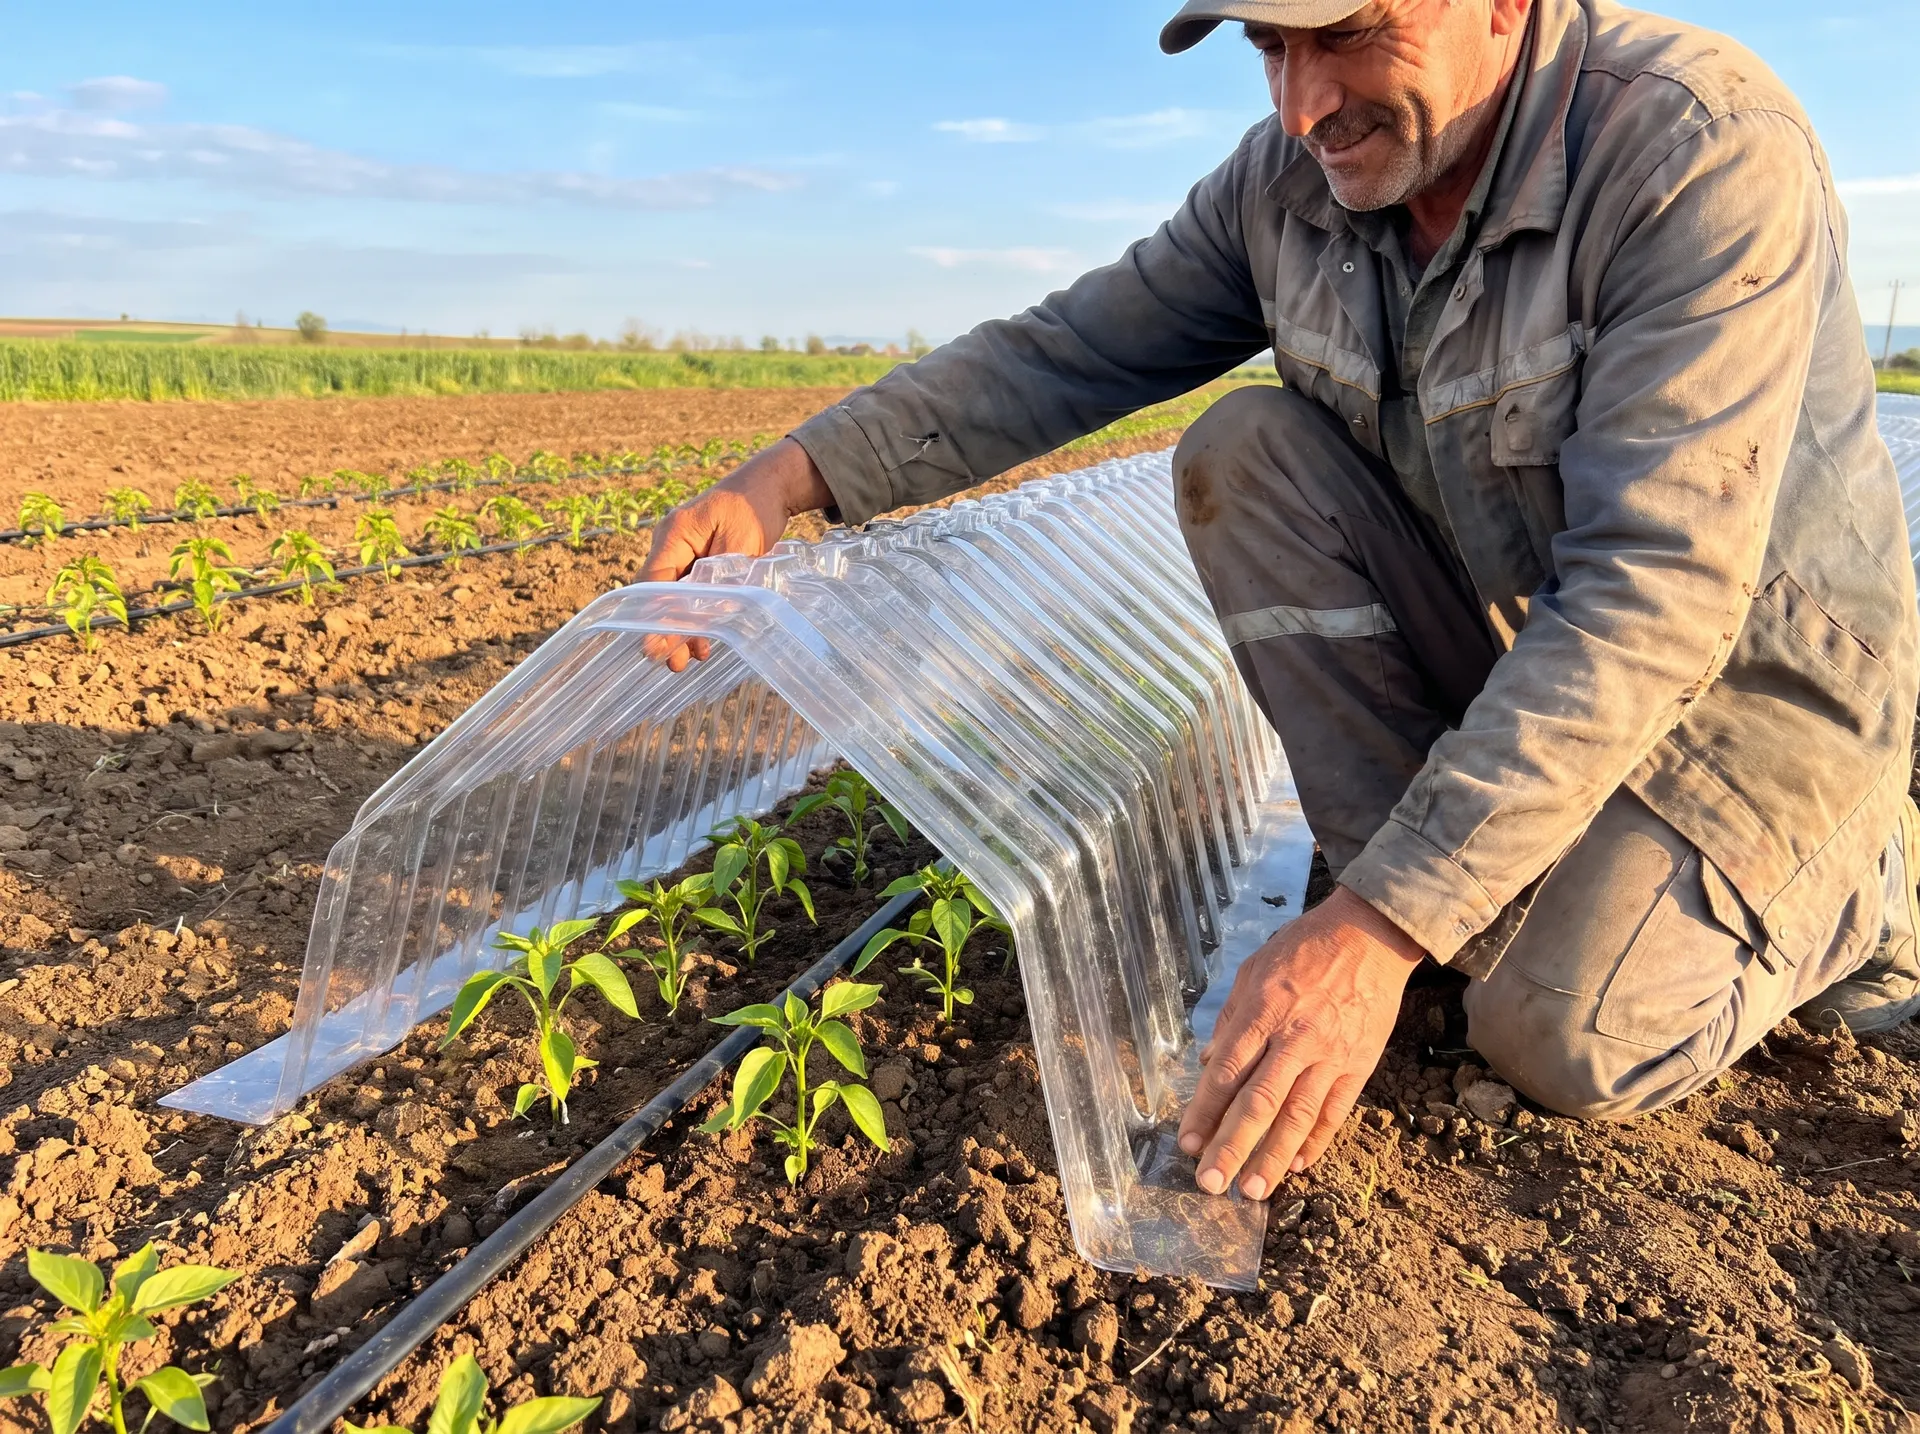
Easy to set up, big on results.
From growers in the field: 2 people can set up MiniSera on about 3.5 decares in a single day.
MiniSera in 6 steps
- 1
Prepare the soil
Till and level the field. Lay drip irrigation tape along the row; add mulch film if you like.
- 2
Plant the seedlings
Single rows for the 35 cm model, double rows for the 80 cm model. Leave walkways between rows.
- 3
Place MiniSera
Line the units up end to end over the row. The ribbed body sits over the crop like a roof.
- 4
Anchor the flanges
Cover the flat flanges on both sides with soil for a firm, wind-proof hold.
- 5
Ventilate and tend
Open the vents on warm days. Spray, fertilise and foliar-feed through the top channels without lifting the tunnel.
- 6
Collect after harvest
Lift, clean and store the units in the shade. Reuse them next season.
Using it through the seasons
On frosty nights
Close the vents in the evening; open them a little once the morning sun is out.
On hot days
Inside temperature rises fast around noon; open the vents to avoid scorching.
Watering
Humidity inside rises by up to 40%, so you can shorten drip irrigation cycles.
Windy sites
Pull a bit more soil over the flanges and close off the row ends.
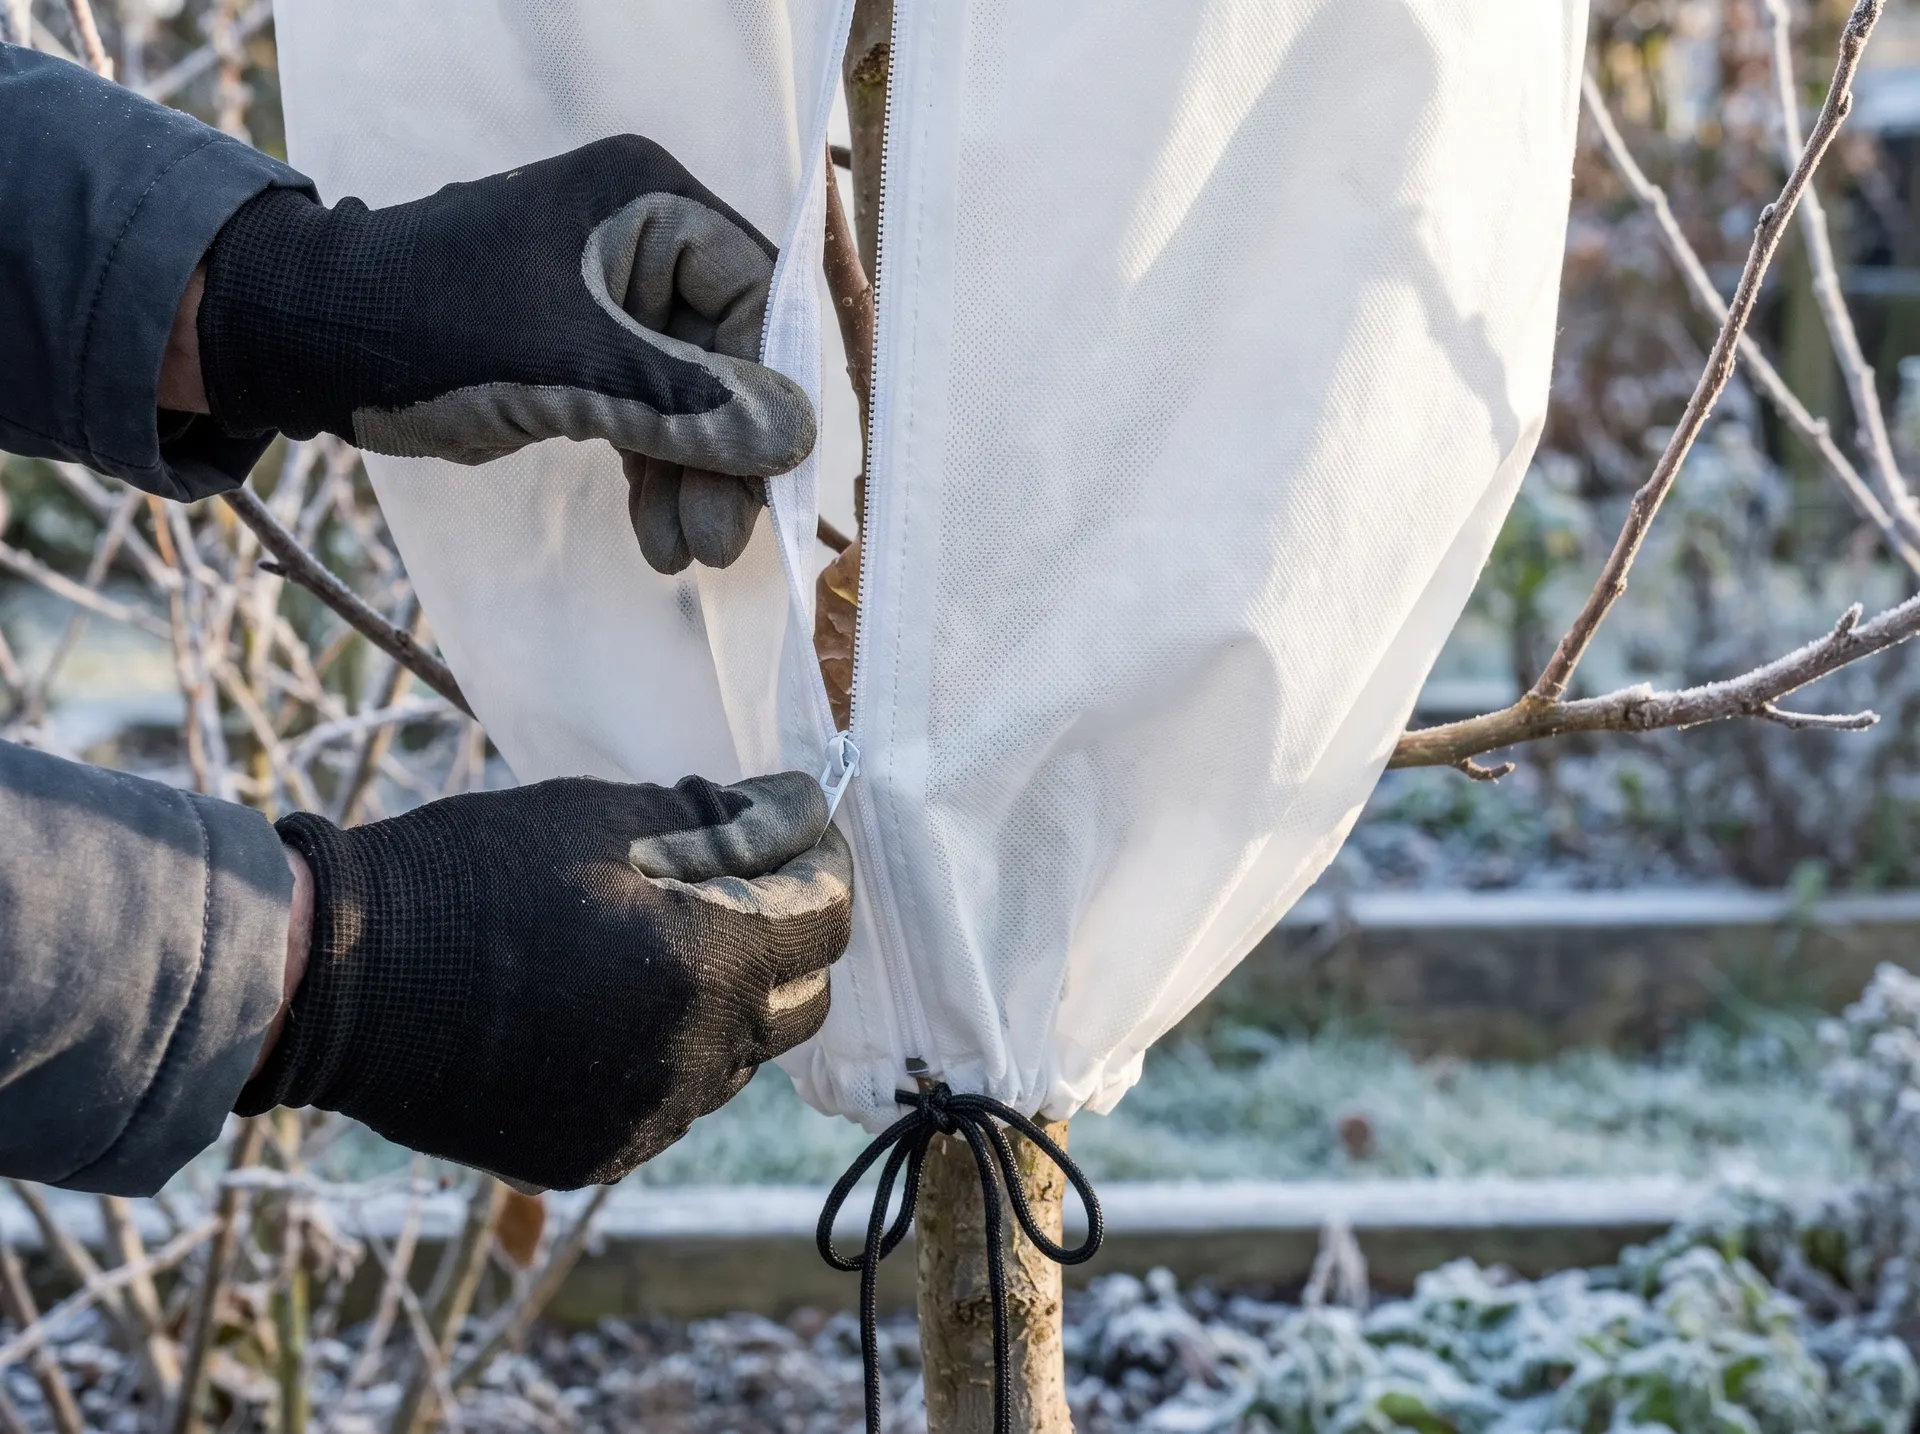 Illustrative
How to fit the frost cover
- 1
Cover the plant or tree completely.
- 2
Close the front zipper.
- 3
Tie the base firmly with the drawstring.
- 4
Keep the cover closed throughout the frost.
- 5
On sunny days, open the top to let it breathe.
Planning a bulk order or a dealership?
Tell us your field size and crop, and we will prepare the right sizes and a quote. We ship across Türkiye.